 This is Monique's gorgeous pendant. She designed this pendant using a design from a Dover Copyright free Design Book, and felt the square turquoise cab would work best with it. After ironing on the design on PNP paper onto the sterling silver sheet, she submerged the silver into an acid bath to create the etched design. She then soldered on a frame, and a bezel for the turquoise (cutting out the corners for ease of setting). She then oxidized the piece, drilled a hole for the bail, buffed it, and added a gorgeous matching commercial chain. A strong piece!
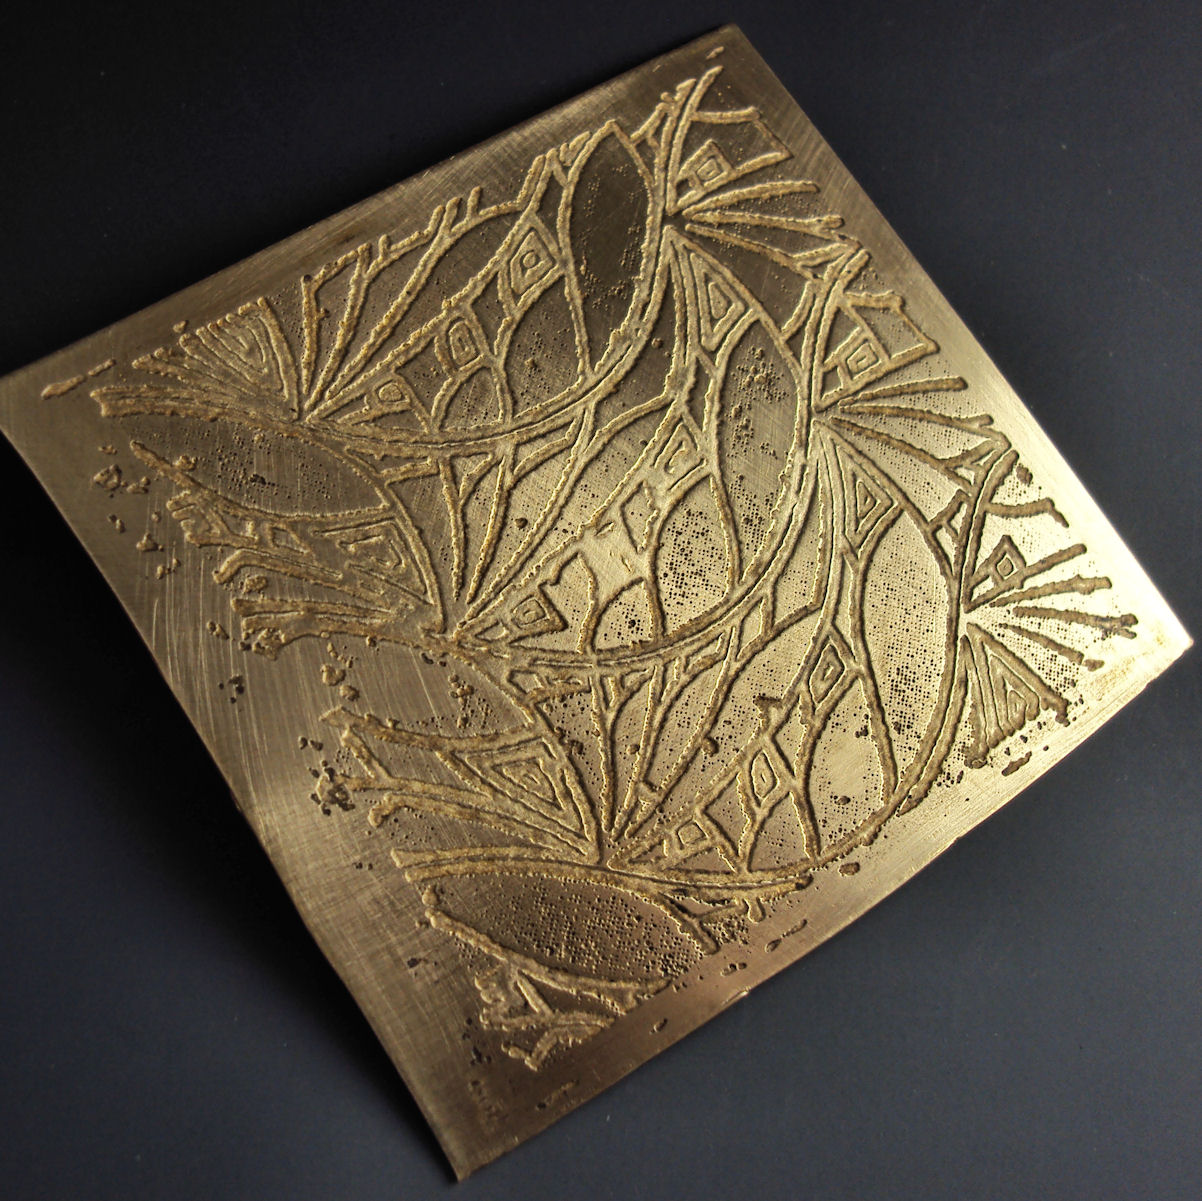
 This is also Monique's piece. She started with 2 thin gauge sheets of brass, and soldered them flat together to create a thick piece of sheet stock. She sawed out an edge design, textured the brass, then soldered, shined, and sealed the ring in Renaissance Wax to avoid tarnishing.
 Daphne's cuff (1" x 6" 22-gauge silver) also received an acid bath to create this lovely design. She then filed the edges round and shaped it on a mandrel to fit. Simple and gorgeous!
 This pendant of Daphne's is also acid-etched but was the first time she bezel-set a faceted stone- not an easy task. After etching, she formed the bezel wire around the stone while upside down. After some fitting and more fitting, she soldered in a wire seat for the stone inside the bezel. Next the bezel was soldered to the base, a hole was sawn out for the back of the stone from the sheet, and the pieced was oxidized, buffed and the stone was set- carefully!
  This simple domed pendant was acid-etched by Daphne. Acid-etching requires the ironing-on of an image that's been printed onto a special paper, called PNP paper (sold by ThompsonEnamel.com). Then the edges, back and any other areas not to be etched need to be covered by duct tape or nail polish. 5 minutes in an acid-bath and it's complete. Then comes removal of the resists, sanding, refining and buffing. It's a process to get it to come out exactly as planned, but Daphne's now a pro!
 This was Maureen's first bezel-set stone. She used her fingers to form the soft bezel wire around the stone, then marked and snipped the excess. She soldered the bezel closed, re-formed it to fit the stone, and then soldered it onto her base sheet, which she'd sawn out of sterling silver sheet. After soldering on a hidden bail (tubing) on the back, she set the stone, and strung it on a strand of beads that matched it perfectly!
 This is also Maureen's work. This was a tough job for 2 reasons. First, she used bezel wire with a built-in seat, which is stiffer and harder to form and measure. It also required her to raise the stone up with a wire seat. Second, she hand-formed the twisted wire shank and had it terminate in 2 pairs of 2 arms, which had to be very carefully soldered onto the bezel, using a third hand. After a few carefully-planned soldering operations, success!
 This is Molly's ring using a stone of Imperial Jasper. She measured the bezel, soldered it closed, and cut out a base sheet to solder it onto. She then stacked 2 rows of beaded wire around it for a great effect that the pictures don't do justice. She then soldered on the ring shank using a 3rd hand, polished it and set the stone. A lot of soldering operations to achieve a stunning ring.
 Last but not least, Molly's pendant is a stunner! She etched a design into silver, and then created and soldered on a bezel. She then soldered the whole piece onto brass for a fabulous framing effect, cut out the excess, oxidized and tumbled the piece, and set the stone. After adding a hole for the bail, she's ready to find a unique chain to match the style and quality of her piece.
Hats off to all my students- you really worked hard and learned a lot! Hope to see some of you next time!


