Thursday, October 21, 2010

Completion of Metalsmithing I, Fall Session

This group of metalsmiths had ZERO experience 5 weeks ago, and look at them now!!!


This is Molly1's gorgeous tree vignette. She cut out and collaged pieces of sheet onto a base sheet, soldered it down, and continued her collage of fallen leaves and wire frame. She gave some texture to the tree (and character!) and also soldered on a stand to the back. Finally, after numerous solderings, she oxidized the piece and sanded and buffed it to perfection!


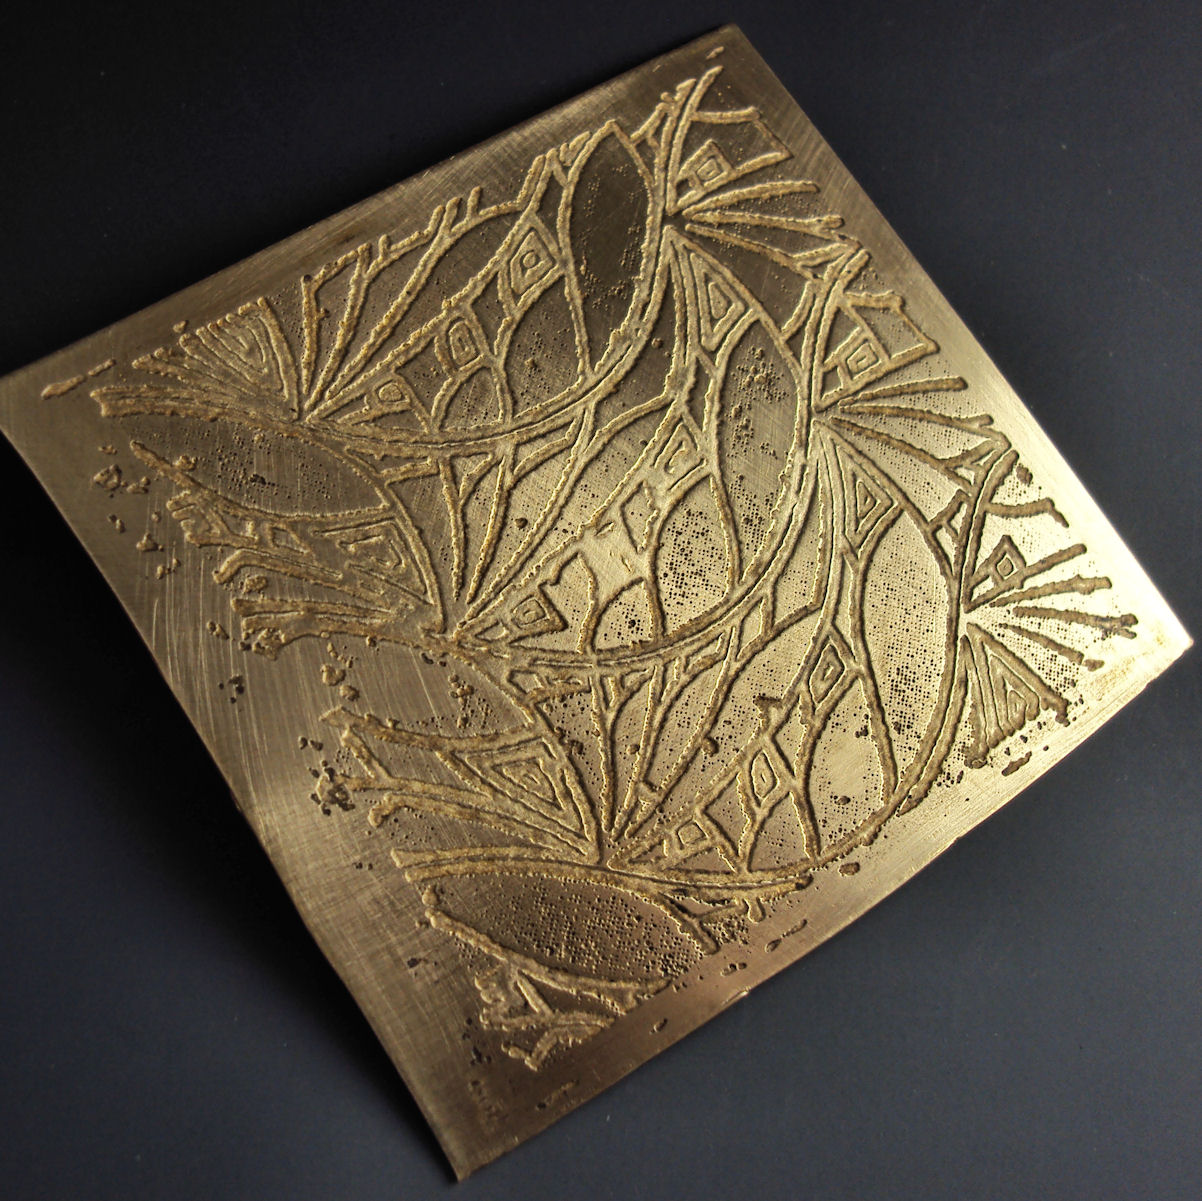
This viney leaf is also by Molly1. She used the 2 techniques learned in class- soldering and sawing. First she sketched a leaf onto copper sheet, and sawed out the shape. Next she pierced and sawed out some veins on the interior of the leaf. She then formed the 2 sizes of wire for vines and stem and soldered each to the back of the leaf. This copper leaf will oxidize in time and look like an heirloom!


These beauties by Nicky were a labor of love! After sketching and cutting out the rounded square base sheet from sterling silver sheet, she then formed the wires on the front of the piece and soldered them on in multiple soldering operations. Next came those stubborn balls! She then cleaned the earrings up, gave them a satin finish, and bent the earwires into shape.


This earring and pendant set by Lolita was a great project for a beginner because she learned how to cut each circle from the disc cutter in class. After soldering each of the copper discs onto the silver base, she domed each piece using a wood block and balls. She then tumbled each piece to shiny perfection, added a bail and some earwires, and called it done!


This pendant is also by Lolita. After cutting out the base of sterling silver, she hand-formed the wire, textured it, and soldered it to the base. After oxidizing it and buffing it, she added the bail and it's ready to wear.


These hoops were also made by the prolific Lolita! She cut out 2 exact lengths of square wire and bent them on a bracelet mandrel. She then soldered on 20-gauge earwires (a delicate procedure!) and they are ready to go!


Molly2 made this lovely pendant (dog tag) out of sterling sheet and wire. After spending some time forming and flattening the spirals, she then carefully soldered them on to the base sheet, which had been sawed, filed and sanded. She then added the hole, and it's ready for a ring and chain!


This ring is also by Molly2. She formed the ring shank, filed and sanded it, and after multiple soldering operations attached the 2 pieces of sheet and spirals in the center. All this was done flat. She then carefully formed the ring around a mandrel using a plastic hammer as to not mar the metal. After a bath in the tumbler, it's shiny and ready to wear.


Wow- this bubble pendant by Maureen features silver and brass rings, all hand cut and formed, soldered, and arranged for final soldering. All rings were rounded on the ring mandrel, and then, after multiple solderings, the pendant was complete! She then sanded, tumbled and added a bail.


Thanks to all the students for their hard, hard work! Good job!


Wednesday, July 28, 2010

Final Class for Beginners

Last night ended another class for beginning students in Dana Evans' metalsmith class. Always sad, but always full of finished projects! Last night we had a slew of etching projects, too.

These 2 pendants by Jennifer feature an etching of her friend (Erykah Badu!) that she etched, shaped and textured. Etching is not a fool-proof technique- it involves ironing on a pre-printed sheet of special PNP paper, sometimes a few times to get it to stick completely. Then an acid dip, cleaning, texturing, oxidizing and finishing.


Another pendant by Jennifer- one to keep, one to give away!


This bird etching, also by Jennifer was a welcome relief to all the soldering she did last week!
All on sterling silver, and this one was dapped into a dome shape.


Jamie's bracelet was a labor of love- and it involved a lot of labor! Soldering the cuff together of all those wires proved difficult, but she got it done, and then wired the wire sculpture on top for a one-of-a-kind piece!


These gorgeous etched and domed pendants are by Tosha. Maybe a mother-daughter set? Etched and finished with a nice satin glow.


This "collage" ring by Tosha she nicknamed the "neverending ring"! She saw cut the ring and then soldered it closed, then soldered on strips and ball elements using a ring soldering stand. Not easy, but well worth the effort!


Tosha's ring was tumbled to shiny perfection!


This large neck-chain of Chris' was also a labor of love! The silver rings are large- over 1-1/2" wide, soldered and textured, and alternate with double brass rings, not easy to solder! Chris discovered that brass was a dirty and unpredictable metal. Finished off with an s-clasp, it's an attention-getter!


Amy created this ball-loop bracelet meticulously and tumbled it to shiny. She made an s-clasp and now it's ready to wear!


An example of etching on brass by Barbara.


This gorgeous Celtic knot design was etched by Joan. She painstakingly ironed on the PNP paper, nail polished the exposed surfaces, and gave it a 5-minute acid bath. Next she refined the shape, used Griffith's Silver Black for contrast, added a bail, and it's ready to wear!


This modern cross by Joan has been soldered and textured in silver and copper. It has just the right amount of detail and has been tumbled shiny and gorgeous!


Thanks so much to everyone- this was a great run!!!!


Wednesday, July 21, 2010

Some Experienced Beginners

This week we had a great class and got some cool stuff made!
This is Tosha's pendant made by doming silver and copper, cutting out and soldering shapes over each other, and sanding for a satin finish- great job!


Ann's pendant has a cosmic feel! She soldered a bunch of collage elements over a textured base.


Here's Ann's jumprope pendant- love the contrast! She cut out the shape of the figure and soldered it and the jumprope on the base sheet. Oxidizing the base worked out perfectly!


This is Barbara's etching- can't wait to see what she'll turn it into!


Jamie sawcut a piece of silver sheet, textured and oxidized it, then soldered on a piece of hand-made chainmaille, and epoxied on a barette finding for a one-of-a-kind hair piece!


3 examples of piercing and saw cutting by Barbara, Jennifer and Amy.
Great work everyone!


Monday, July 12, 2010

Advanced Students Working Hard

These students have only been metalsmithing THIS YEAR and look at their projects!!!

Daphne's large pendant boasts cabochons of jasper and green peridot. She acid-etched the front sheet and soldered on the bezels for the stones. She then refined the shape of the sheet and soldered on a tube bail on the back for a chain. Finally, she oxidized the piece in liver of sulfur, buffing off the high points and leaving the darkness in the crevices of the design etching.


A fantastic, large, and well-executed piece!


This is also a piece of Daphne's creation- a gorgeous cabochon of moonstone set in a decorative gallery wire and soldered to a substantial ring shank.


Monique acid-etched a sterling silver piece, punched holes, and oxidized/buffed it. A work in progress: she's going to string it to make a bracelet with these gorgeous coral beads.


Another seaweed acid-etched neckpiece by Monique.


These beauties by Monique utilize keum-boo- fusing pure gold onto the sterling silver surface, which was first depletion-gilded (annealed 4 times). 2 layers of thin silver sheet became a sturdy backdrop to the gorgeous faceted chalcedony stones.


A gorgeous glass cabochon bezel-set by Monique and ready to put on a chain and wear!


These artsy earrings by Sharon feature 2 sets of rubies- small faceted ones on the bottom drop, and 2 larger star rubies cabochon-set above. Cool hanging earwires too!


Another view of these fab earrings! All metalwork entirely hand-made by Sharon.


This "turbine" ring features a cool plastic button! Sharon bezel-set it and then accented the back plate of sterling with some punches and oxidation. A large ring full of character.


Wednesday, July 7, 2010

New Group of Metalsmiths

This new batch of beginning metalsmiths are hard workers! Check out their pieces so far:


These beautiful Ankh Earrings are by Jennifer. She made a template for the forms, cut out the silver from a sheet, textured it, soldered on the top teardrop and earwire (folded behind out of view) and then domed and tumbled for shiny perfection. Great prescence and style!


These great Triangle Earrings are by Chris- completed the first night of class. She cut out the triangle shapes out of sheet, textured them, soldered on the earwire and ball accent on front, and called them done! Perfect everyday earrings!


Check out this awesome pierced and sawed Flower Pendant by Joan. She sketched out a design onto the silver, pierced holes, sawed out the design, domed and satin-finished the piece. Complete with bail it's ready to wear.


This is a Teardrop Pendant piece also by Joan. She cut out the shape from sheet, textured it and soldered on the decorative wire in sterling. Tumbled shiny, she then pierced a hole and added a bail.


Jamie worked on this Heart Pin for 2 weeks. After designing the piece, she cut the components out of silver sheet, and soldered on the 2 side wings and the 3 pieces of wire. She textured the piece as well and made a pinback and soldered that on, too. Great on a jacket!


Barbara's Triangular Earrings have a great modern appeal- she cut out the shapes of sheet and carefully soldered on the decorative spiral wire, then bent them into earwires. Tumbled for shine, she wore them home.


This is Amy's exercise in soldering rings together. A pendant? One of an earring pair? Only time will tell.....
Great work soldering everyone! Next week- more piercing and sawing pieces!


Wednesday, June 23, 2010

Learn How to Solder in an Evening
This new batch of students was top-rate! They worked hard and created some AMAZING pieces!


Veronica's earrings were made by cutting rectangular shapes from sterling silver sheet and texturing them with a ball peen hammer. She then soldered on the decorative wire and earwires, textured the wire, oxidized and buffed the earrings, and formed the earwires. Great work!


Tony's project was a bracelet tag for his wife Nancy (a cursive "N" in wire!) which he soldered, textured and oxidized. He'll add some beads for a custom gift!


Loretta's gorgeous chain was an ambitious project- she did all the soldering in one class! She will be completing the project by hammering the links and buffing them with sandpaper. She even made the S-clasp!
Way to go solderers!


Wednesday, May 12, 2010

Final Class for Beginners


Last night's class was the last in the beginning metalsmith series. These students went from fearing the torch to: soldering, piercing, sawing, texturing, forming, oxidizing and finishing. Good job everyone!


This remarkable pin is by Daphne. It's quite large and is inspired by a piece that was featured on the cover of a jewelry magazine recently. Daphne accomplished this in only 2 weeks! She designed and produced stencils to cut out her silver and brass pieces, pierced/cut the designs out, and formed them concavely on a mandrel. She then created the back piece and soldered brass accent balls onto the front, as well as a spiral. She then soldered the front pieces together, then soldered that onto the backplate. Lastly, she created a pin stem for the back and soldered that on as well. To finish up, she oxidized the piece, then removed most of the finish save for the back plate and giving the front piece a nice satiny finish. Great job, Daphne!


This lovely bracelet was created by Lizzy. She also spent 2 weeks on this beauty. She coiled and cut loops from sterling wire and sterling twist wire, all 16 gauge, then soldered the links together step by step. She also hammered the round wire flat for contrast. Lastly, she created the decorative toggle with soldered accent, and tumbled the whole thing until shiny. Very elegant!


This lovely necklace is by Laura- she textured and cut out each rectangle, soldering on a design to the lower 2 pieces. She then coiled and cut out links, created a closure s-clasp, and joined everything together. All the pieces were tumbled shiny and the result is terrific!

Thanks to all the students- I had a great time helping you and seeing what you wanted to create!